Welcome to Xin 365
Step 2: Sign In and Setup
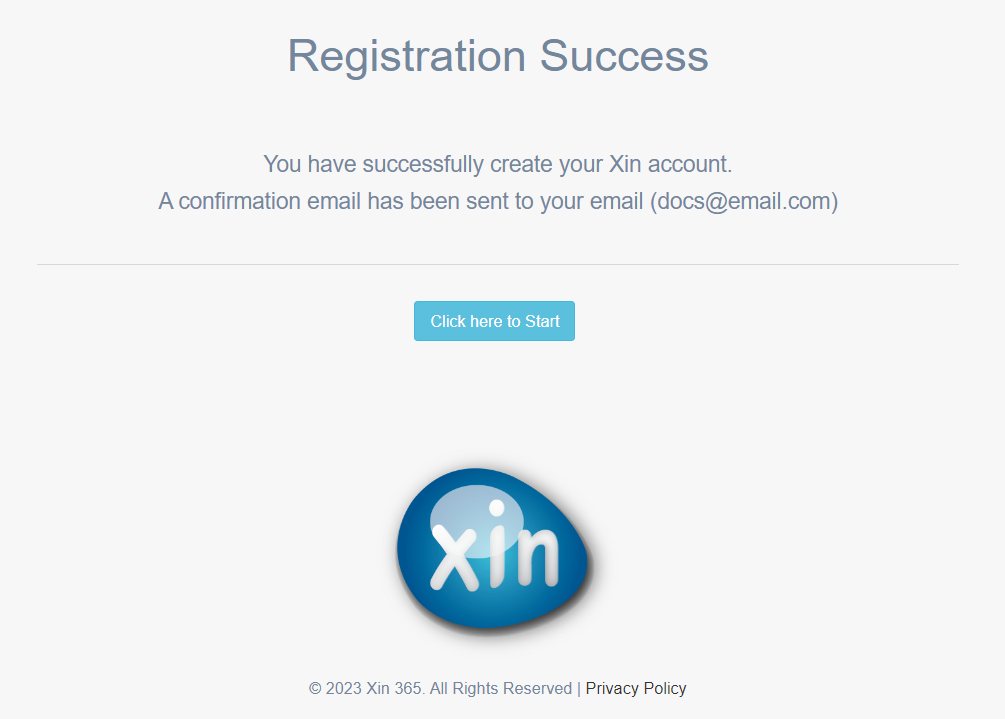
1. On the registration success page, choose Click here to Start.
2. Once login, you will see a welcome page. Enter your company information. Choose Next.
| Column | Description |
|---|---|
| Company Name | Your company name to be displayed in all official documents. |
| Reg No | Your company registration number. |
| Website | Your company website to allow your customer and potential customer access to you easily. |
3. Next, enter your contact person information. Choose Next.
| Column | Description |
|---|---|
| Contact Person Name | Your company primary contact person name. |
| Contact Person Email | Email of the primary contact person. |
| Contact Person Phone | Phone number of the primary contact person. |
4. Next, confirgure the tax. In this initial setup page, you can configure up to 2 tax code. If you need to configure more than 2 tax code, you can set it in the setting page later. Choose Next.
| Column | Description |
|---|---|
| Tax Code | A code that imposing tax on all transactions in your country, such as GST, VAT, PPN etc. |
| Tax Percent | The percentage of the tax applied to the total amount of a transaction. |
5. In the Currency selection page, select all currencies needed in your businesses by checking the checkboxes of the named currencies. US Dollar is our base currency, and it will be auto selected. Choose Next.
6. Lastly, choose the time zone where your company located. The time zone will be used throughout the system to make sure all timestamps are correct and set according to your local time. Choose Finish.
If you are unsure what to enter now, use the default value or leave the columns empty. You can always configure later or make changes in the setting page.
Next topic: Step 3: Email Confirmation
Previous topic: Step 1: Sign Up Xin Account
Need help?
Connect with us
New to Xin 365?
Sign up today