Database - Sales Person
Additional Info
Use Additional Info to create additional column in the Sales Person form if the needed column is not available in the standard Xin Sales Person form.
To Add An Additional Info to Sales Person Form
1. On the left menu, choose Setting > System Setting > Additional Info. Choose Sales Person.
2. You can add up to a maximum of 10 additional column for Sales Person.
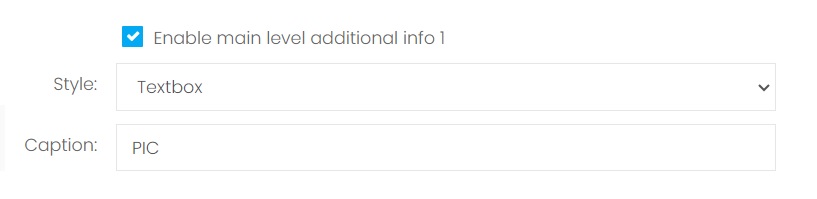
3. Under Main Level, choose the option Enable main level additional info 1. Select "Textbox" from Style and enter a caption for the first additional column.
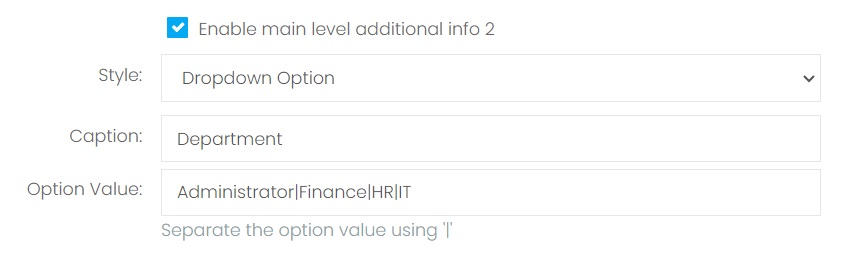
4. Next, choose the option Enable main level additional info 2. Select "Dropdown Option" from Style and enter a caption for the second additional column. Enter the value to be selected under this dropdown option by separating the value with |.
5. Choose Save & Stay floating button.
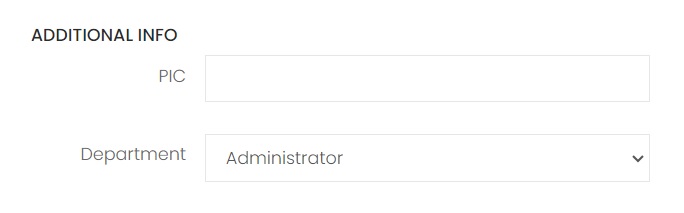
6. On the left menu, choose Database > Sales Person. Choose New button. Scroll to the bottom of the Sales Person form. "PIC" and "Department" column are now available in your Sales Person form.
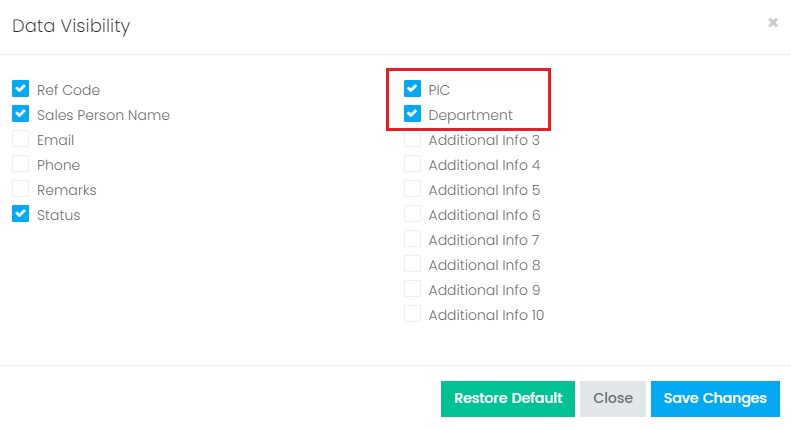
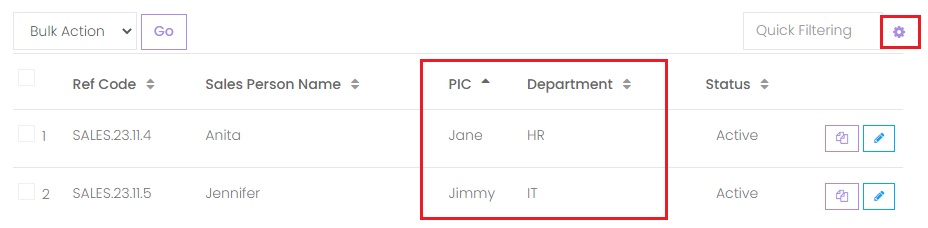
7. To display these 2 additional columns in the Sales Person listing page, choose the purple gear button beside "Quick Filtering". Then on the popup Data Visibility, choose the options ("PIC" and "Department"), then choose Save Changes.
8. The newly added columns ("PIC" and "Department") are now showing on the Sales Person list.
9. To included the newly added columns ("PIC" and "Department") in the template, on the left menu, choose Setting > Template. Click here to learn how to custom made a template. Then click on the Design button from your template. Under Dictionary > Data Sources > Data > [datasource_name], include these 2 columns to the template:
- Header_Sales_Person_Additional_Info_1
- Header_Sales_Person_Additional_Info_2
Next topic: Follow Up
Previous topic: Add a Sales Person
Need help?
Connect with us
New to Xin 365?
Sign up today