Invoicing & Billing - Receipt
Send a Receipt
You can export the Receipt as PDF, document, excel or image format and send to your customer in a manual way. Or send the Receipt directly to them.
1. On the left menu, choose Sales > Receipt. On the Receipt listing, choose the orange Send button of your Receipt.

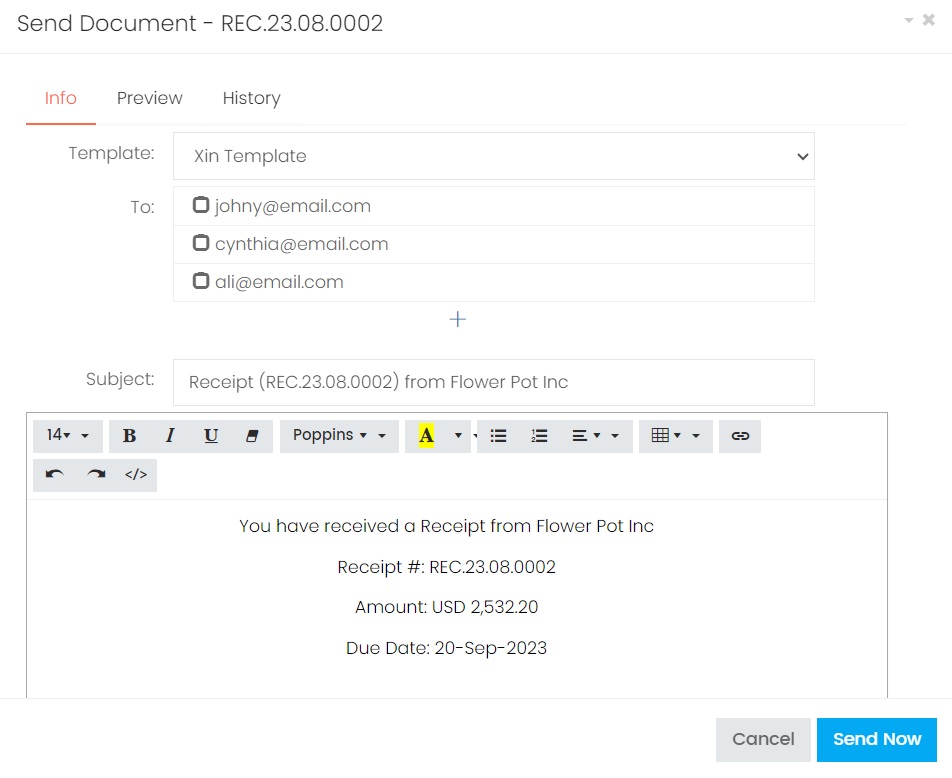
2. Configure the template, receipients, email content before sending the document out.
Before you can send the Receipt, you need to configure the Email Server.
Info
| Column | Description |
|---|---|
| Template | Choose which template to be viewed by your customer. |
| To | By default, all the contacts from the customer in this Receipt will be listed. Only the selected Bill To and Ship To contact will be auto selected. Should you need to include other receipients, just select the email address from the To list. In some cases which you need to send the Receipt to other receipient instead of those listed under the To list, click on the plus button button ( + ) under To list. |
| Also To | Enter receipient email which is not listed in To list. If there are more than 1 recipient, separate the emails with semicolon ( ; ). |
| CC | Enter receipient email which you want to CC them in the email. If there are more than 1 recipient, separate the emails with semicolon ( ; ). |
| BCC | Enter receipient email which you want to BCC them in the email. If there are more than 1 recipient, separate the emails with semicolon ( ; ). |
| Additional Attachment | By default, the Receipt will be sent as PDF attachment together with this email. You can include other necessary attachments together with this email as well. |
| Subject | Subject of the email. You may configure the default subject in Setting > System Setting > Email Setting > Receipt > Template. |
| Content | Content of the email. You may configure the default subject in Setting > System Setting > Email Setting > Receipt > Template. |
Preview
Click on the second tab Preview to preview the actual Receipt in the selected template. You may change the Template in Info tab and preview the Receipt document again before sending it.
History
Keep the timestampe when this Receipt is sent.
Next topic: Follow Up
Previous topic: Additional Info
Need help?
Connect with us
New to Xin 365?
Sign up today