Marketing Automation
Campaign
1. On the left menu, choose Marketing > Campaign. Choose New button on the top right.
2. Enter all necessary information and choose Save & Stay floating button.
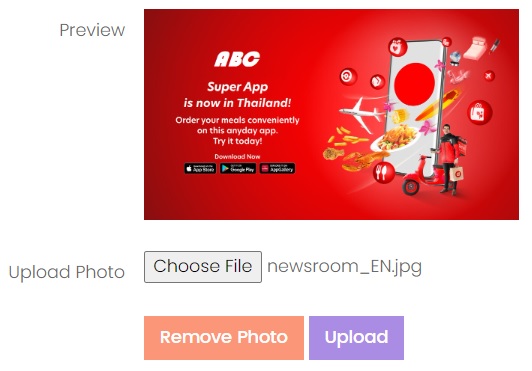
3. Choose Photo tab, upload a photo related to the campaign to be displayed on the campaign form or social media wall.
4. Choose Info tab, choose Copy button beside Campaign URL and share it to your social media, or choose the standard social media button available below the Campaign URL to publish it directly.

Info
| Column | Description |
|---|---|
| Campaign URL | The campaign landing page URL. The URL is in this format: https://www.xincloud365.com/cp/[ID]. Copay and paste the URL to your social media and when the visitor click on the campaign, he/she will be routed to the landing page where they can get more information about the campaign as well as entering their information. |
| Ref Code | Internal reference code for your own reference. |
| Name | The name of the campaign. |
| Description | Full description of the campaign. This description will be read by the lead when they access to the campaign landing page. |
| Date From | The start date of the campaign. The campaign landing page will not be shown if the lead access to it before the campaign started. |
| Date To | The end date of the campaign. The campaign landing page will not be shown if the lead access to it after the campaign ended. |
| Language | What language your campaign landing page to be displayed. One campaign landing page can only support one language: English, Chinese Simplify or Chinese Traditional. |
| Email Notification | Receive email notification when a lead contacting you from the campaign landing page. Separate multiple emails with semicolon(;). Example: '[email protected]; [email protected]; [email protected]' |
| Remarks | Some internal remarks regarding to this campaign. |
Data To Collect
Define what information to be collected from the Lead. Selected fields will be available in your campaign page to be entered by the Lead, and the data will be inserted into Lead database directly.
Additional Data To Collect
Define additional information to collect if it is not available in the Data to Collect section.
| Column | Description |
|---|---|
| Style |
Textbox - a textbox to allow the lead to enter text value freely. Dropdown Option - a dropdown option box to allow the lead to select predefined value. |
| Option Value | This is only needed if you choose Dropdown Option for the Style. Separate the option value using '|'. |
To remove any unwanted data, click on the red color dusbin button to remove the entire row. If you need to collect more information from the Lead, choose Add Row.
Attachment
Attach any documents that is related to this campaign. It is for internal reference and will not be visible to the public.
Collected Lead
List of collected leads from this campaign. You can convert the lead into the Customer database easily.
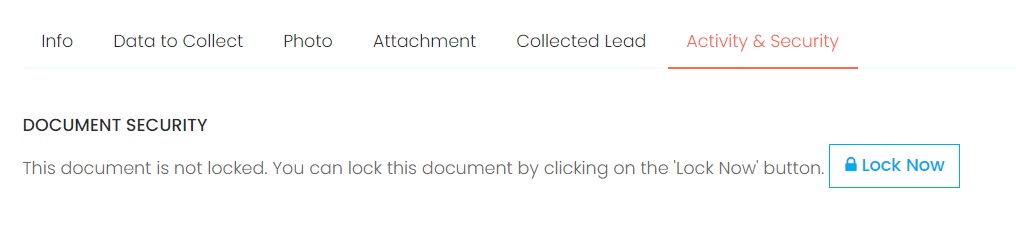
Document Security
System Admin and the owner of the Campaign can lock a document once it is completed to avoid the document been edited or deleted accidentally. It can be locked or unlocked anytime.
List of activities perform on this campaign with timestamp.
Next topic: Lead
Previous topic: Website Builder
On this page
General
Data To Collect
Additional Data To Collect
Attachment
Collected Lead
Activity Log
Need help?
Connect with us
New to Xin 365?
Sign up today