Invoicing & Billing - Receipt
Follow Up
A lost deal is a waste of time for many businesses. Thus you should always follow up the Receipt closely. In Xin 365, you can follow up the Receipt by putting it to your Calendar and it will appear on your To Do List.
1. On the left menu, choose Sales > Receipt. On the Receipt listing, choose the Edit button of your Receipt.
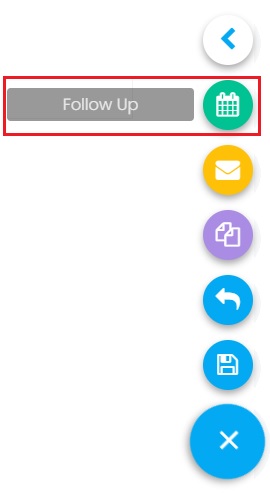
2. Choose the action button at the bottom right of Receipt detail page, then choose Follow Up button.
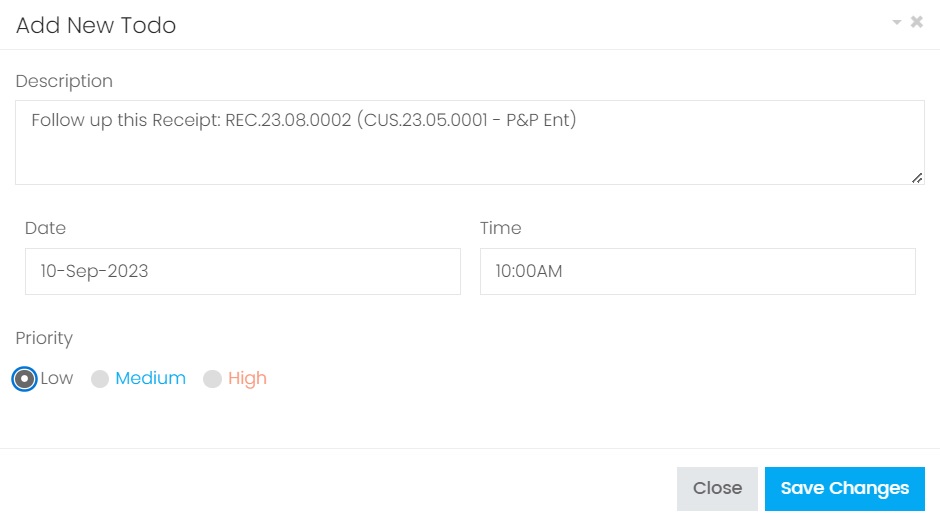
3. Enter the follow up information and this To Do will be added to your Calendar. It will appear on your To Do List on the dashboard on the selected date.
| Column | Description |
|---|---|
| Description | Information about the Receipt. |
| Date | The date to follow the Receipt. This To Do record will appear on your Calendar based on this selected date. |
| Time | The time to follow the Receipt. |
| Priority |
The priority of the Receipt. It will displayed on the To Do List with different color based on the selected priority. Low - The record will not be highlighted. Medium - The record will be highlighted in blue color. High - The record will be highlighted in red color. |
4. After entering all data, choose Save Changes to add this to your Calendar.
5. It will appear on your To Do List on the Dashboard.

Next topic: Versioning
Previous topic: Send a Receipt
Need help?
Connect with us
New to Xin 365?
Sign up today